Timeline/Create New Post - Desktop Overview
The Timeline / Create a new post.. section allows you to post new timeline posts for your fans that will be visible in your fans feed.
To create a new post
Click on the gray bar button Create new post… at the top of the Timeline section next to your avatar:
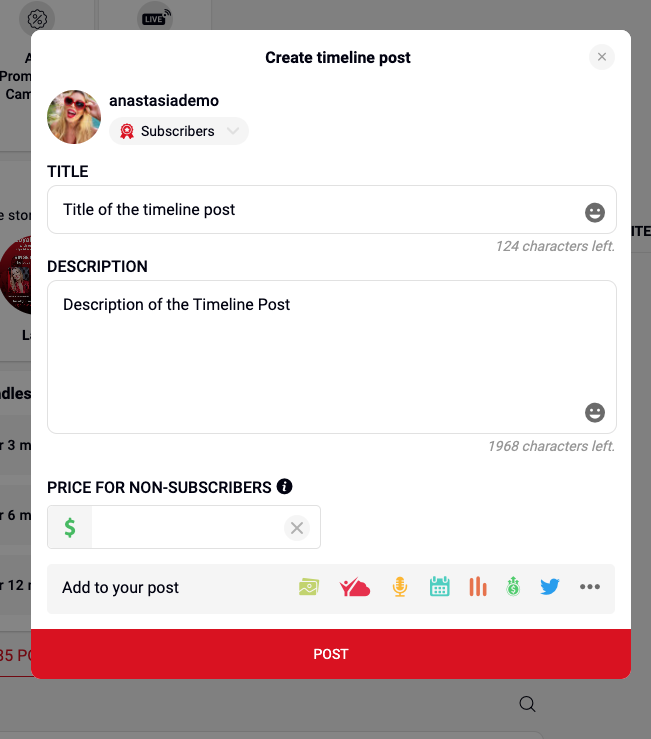
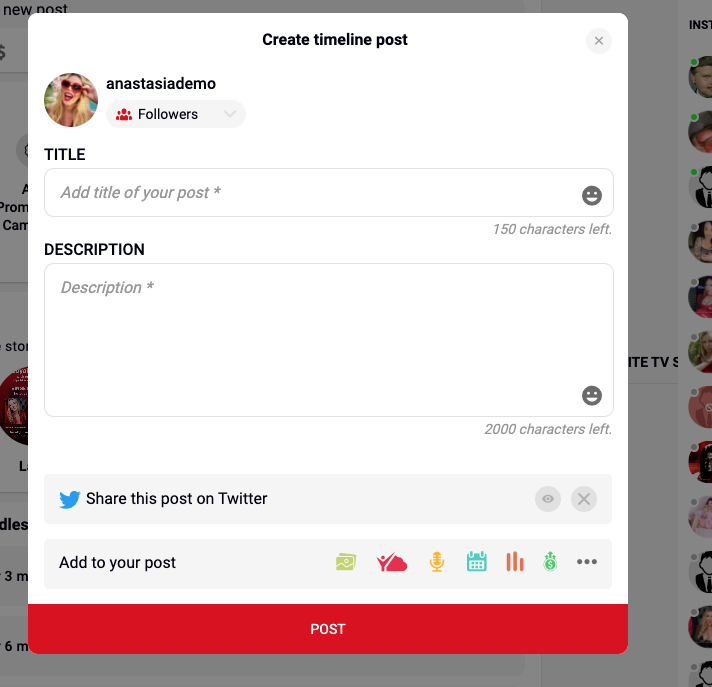
A window will open: Create timeline post


The first drop down field: SUBSCRIBERS allows you to select your audience for your timeline post. Who do you want the post you are creating to be visible to?
Select from:
PUBLIC - Content is visible to anyone
FOLLOWERS - Content is visible to followers and subscribers only.
SUBSCRIBERS - Content is visible to subscribers.
The first field: TITLE allows you to enter the title for the timeline post you are creating
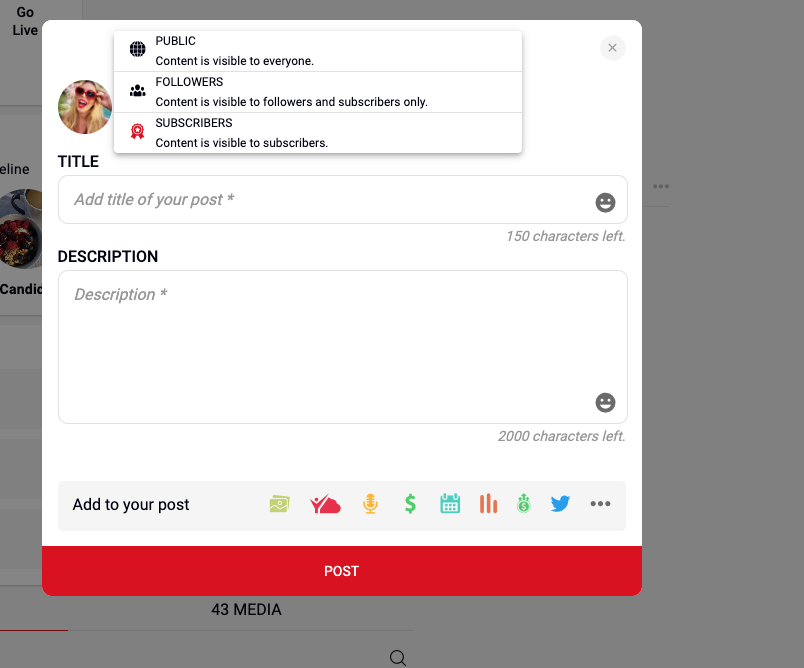
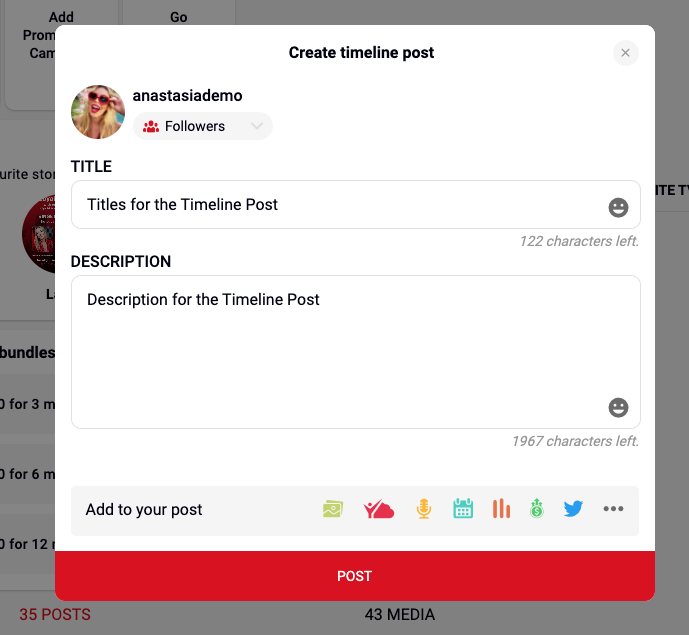
The second field: DESCRIPTION allows you to enter a description, links and tags for the timeline post you are creating.
The bottom navigation bar: Add to your post allows you to add elements to the timeline post you are creating.
Add to your post Icons:
The first icon Browse allows you to select a file from your device (phone, tablet, computer or hard drive)
The second icon Browse Media Cloud allows you to select a file from your LoyalFans Media Cloud.
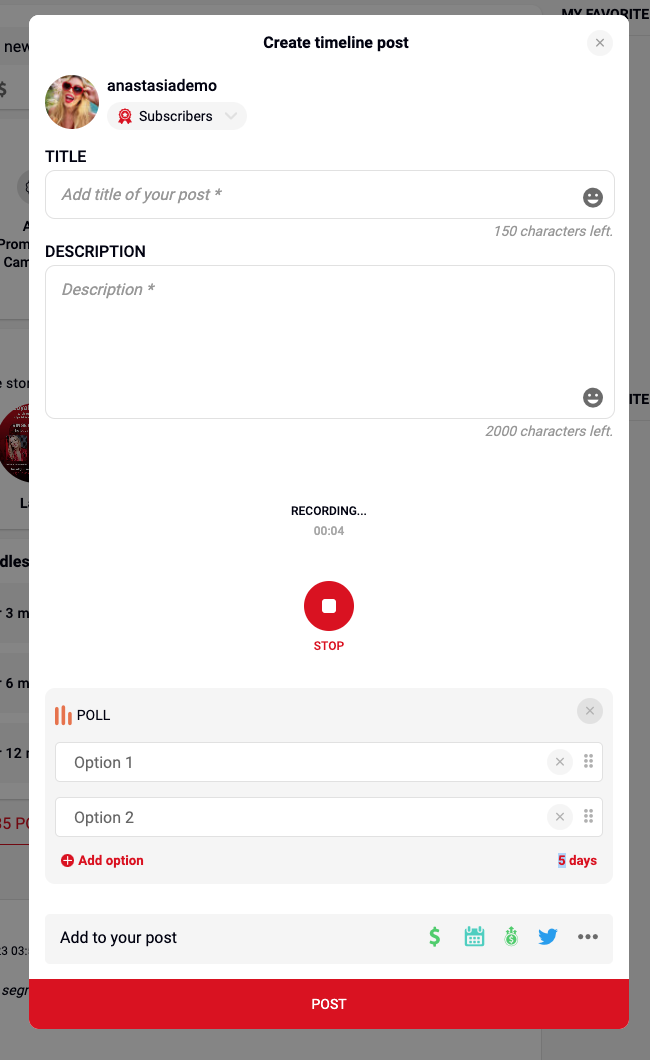
The Third icon Record Audio allows you to record a message for your fans
The Fourth icon Price for Non-Subscribers allows you to add an “a la carte” prices for this specific timeline post for non-subscribers. The post will be visible to your subscribers as part of their subscription but will be available for purchase by followers or the public at the price you set and post.
The fifth icon Schedule Post allows you to select a date and time for the timeline post you are creating
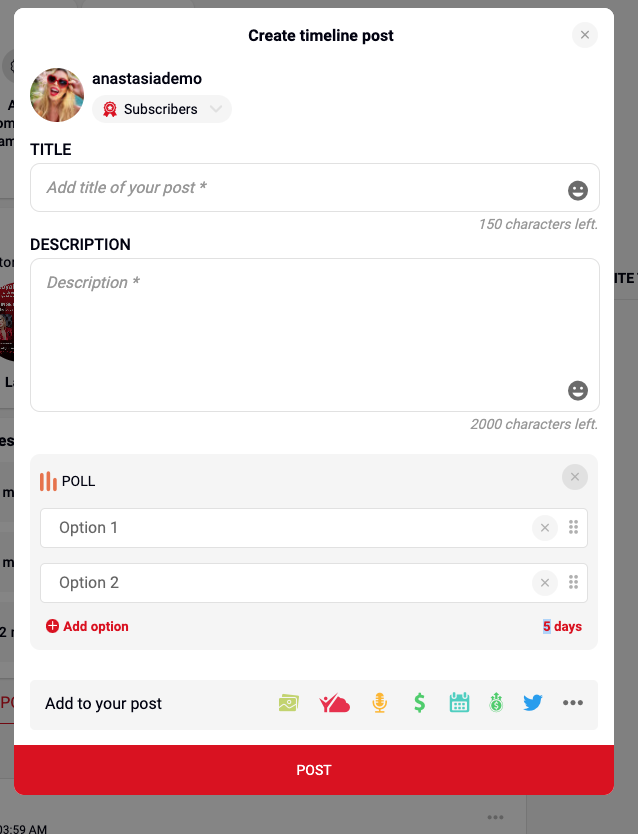
The sixth icon Setup Polls allows you to set up a poll for your fans.
Add Options to your poll:
The default is two options Option 1 and Option2 ) but you can add more Option by clicking on the red + Add option buttons to add more options for your poll. Up to 20 options are available for polls.
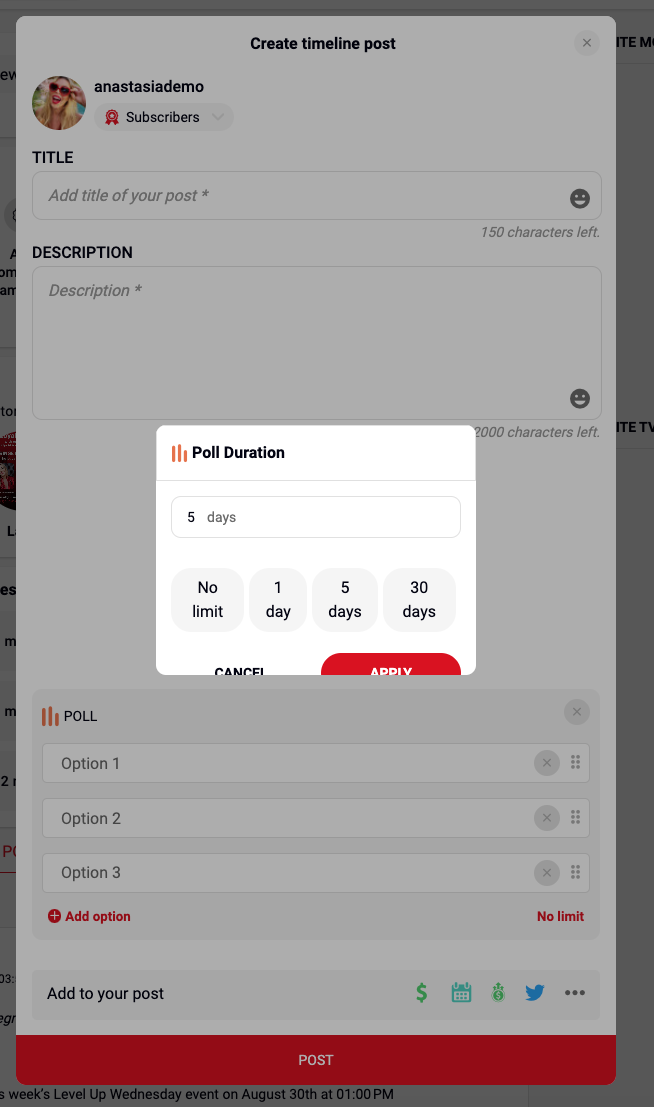
Add a duration for your poll:
The default run time for polls is 5 days but you can click on the red 5 days button and modifying the Poll durations to one of those options: no limit - 1 day - 5 days - 30 days
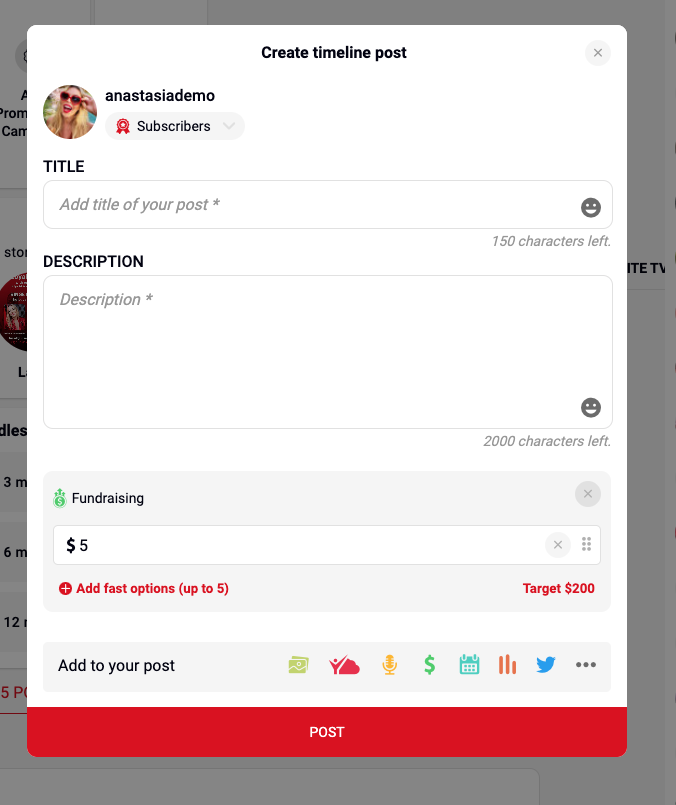
The seventh icon Setup Fundraising allows you to set up a fundraiser for your fans for the timeline post you are creating. Enter your target price in the: Your target field (minimum target goal is $10) Then click on the red button CONTINUE

You then have the option to add different tiers to reach your fundraiser target, the minimum allowed value $5 will be displayed.
To add more options:
Click on the red + Add fast options (up to 5)
A section option field will appear where you can enter a value for the second price value option.
You can enter up to 5 price value option fields.
You can also modify the fundraising target by clicking on the red Target $ button on the right.
The eighth icon Share this post on Twitter allows you to share the timeline post you are creating on your linked twitter account when this post goes live.
You can also view the twitter post that will be posting when the timeline post goes live by clicking on the eye icon. Once the pop window opens you can edit the twitter post by clicking on the pencil icon on the top right corner.
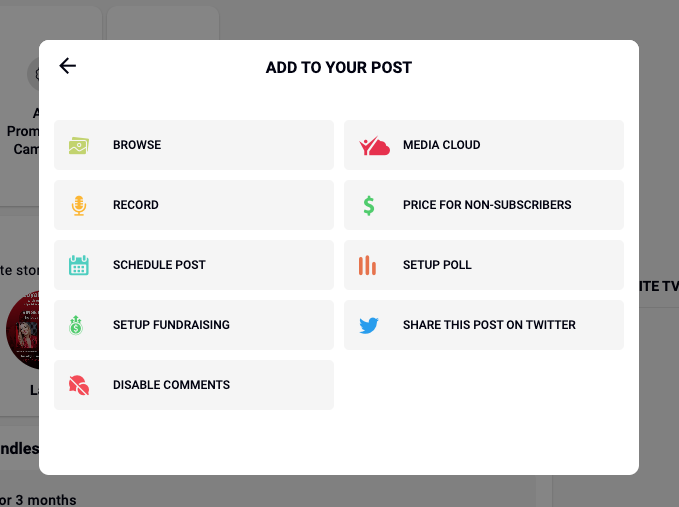
The ninth option the 3 dots … opens a window with all the ADD TO YOUR POST options
Once satisfied with the timeline post you are creating click on the red bar button POST to post or schedule your timeline post.